Follow Me On Social Media!

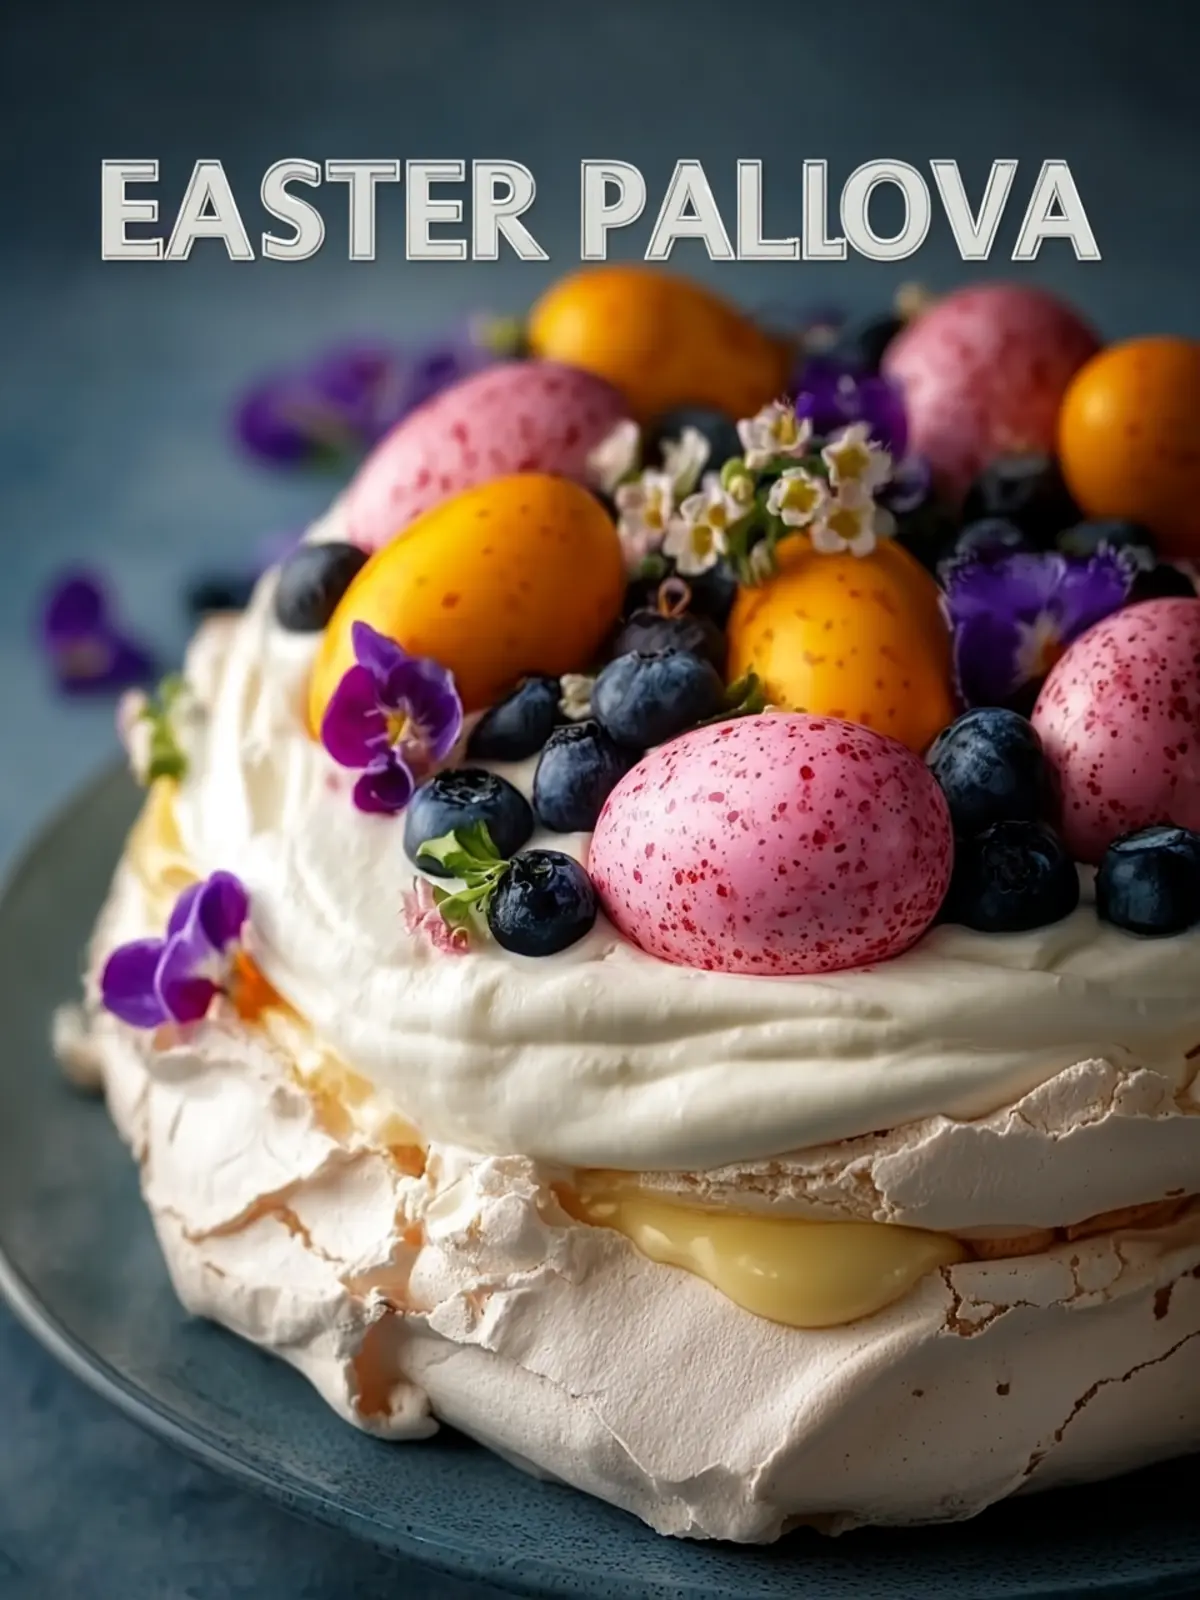
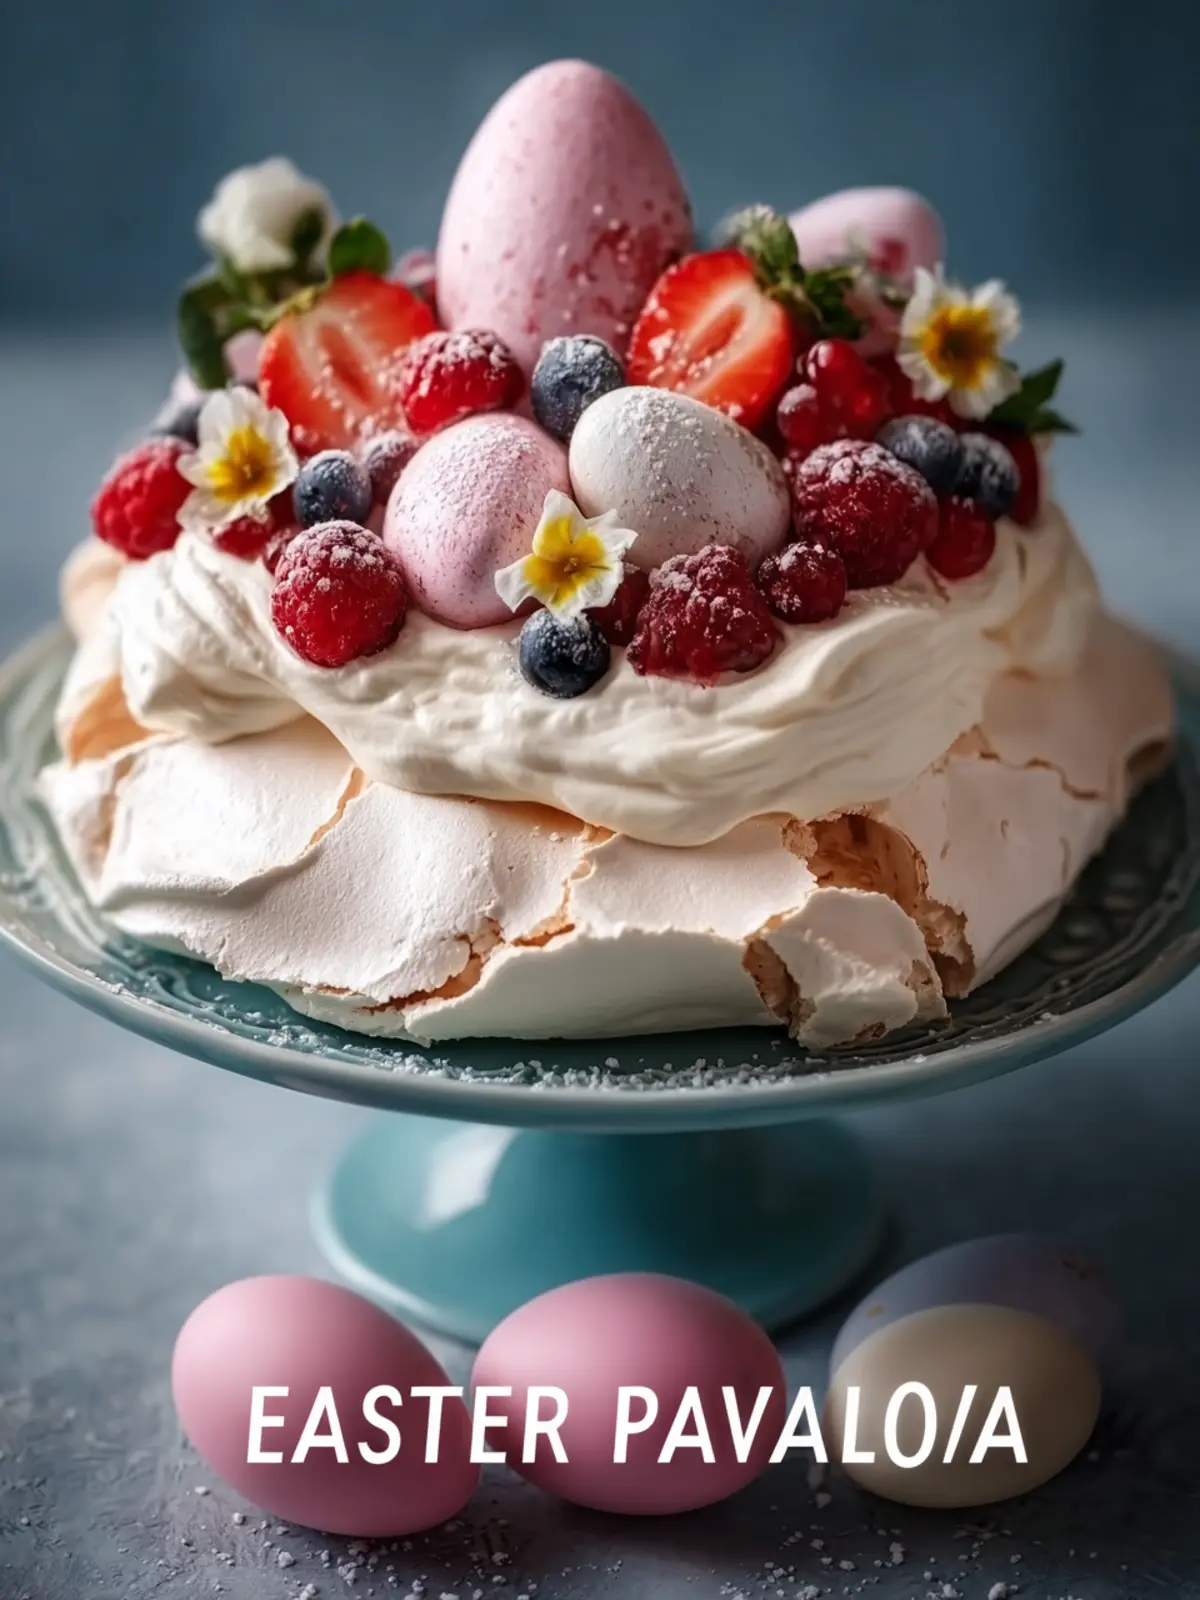
Easter Pavlova Bliss: Indulge in Light, Fluffy Perfection
Introduction to Easter Pavlova
Embarking on the delightful journey of creating an Easter Pavlova is like opening a window to spring — a celebration of brightness, flavor, and texture that can bring a smile to anyone’s face. This elegant dessert, characterized by its crisp meringue shell and soft, marshmallow-like interior, has a way of captivating hearts, especially during the Easter festivities. Think about it: gathering around the table with friends and family, sharing stories and laughter while indulging in this light, airy treat feels like a memory waiting to be made.
What is Pavlova and Why is it Perfect for Easter?
Originating from the land down under, Pavlova is named after the famed Russian ballerina Anna Pavlova. The dessert’s ethereal quality mirrors the delicate elegance of a ballet performance, making it a fitting centerpiece for any celebration, particularly Easter. Traditionally topped with whipped cream and fresh fruit, this dessert embodies the freshness of spring, evoking feelings of renewal and joy.
Why is an Easter Pavlova an ideal choice for your holiday menu? Here are a few reasons:
-
Lightness and Freshness: With its crisp exterior and soft interior, Pavlova is a breath of fresh air compared to heavier sweets. This is especially inviting after a hearty Easter feast.
-
Customizable Toppings: One of the great things about Pavlova is its versatility. You can adorn it with seasonal fruits such as strawberries, kiwis, or passion fruit, creating a vibrant palette that reflects the beauty of spring.
-
Easy to Make: While it looks impressive, crafting a Pavlova can be quite straightforward, making it accessible even for those who might not consider themselves seasoned bakers.
-
Shareability: Pavlova serves beautifully, making it perfect for sharing. It’s a stunning way to bring everyone together at the end of your Easter meal.
As you dive into this recipe, envision the joy it will bring to your loved ones. Each bite of your Easter Pavlova will not only be a treat for the taste buds but also an experience rich with warmth, laughter, and sweet memories.
Key Ingredients for Easter Pavlova
Creating the perfect Easter Pavlova is all about the careful selection of key ingredients, each bringing something special to the table. Let’s dive into what you’ll need to craft a heavenly dessert that will impress your guests and elevate your celebration.
-
Egg Whites: The heart of any pavlova, egg whites are whisked into a fluffy meringue that forms the pavlova’s structure. For the best results, room-temperature egg whites whip up to a better volume and create that coveted crisp texture.
-
Caster Sugar: A super fine sugar, caster sugar dissolves easily, ensuring your meringue is smooth and glossy. The sweetness balances the tartness of the toppings, making every bite delightful.
-
Cornstarch: This is your secret ingredient for achieving that ideal pavlova texture. Adding cornstarch helps create a soft, marshmallow-like center while keeping the exterior crisp.
-
Vinegar: A splash of vinegar helps stabilize the meringue, giving it that perfect structure needed to hold up under your delicious toppings.
-
Heavy Cream: Whipped cream adds a luscious layer to your pavlova. Opt for heavy cream for a rich finish that complements the lightness of the meringue beautifully.
-
Fresh Fruits: Top your pavlova with an assortment of fresh fruits like berries, kiwis, or passionfruit. These not only provide vibrant color but also a refreshing tartness that contrasts perfectly with the sweetness of the meringue.
Each of these ingredients plays a crucial role in crafting a stunning Easter Pavlova, ensuring that it’s as delicious as it is beautiful. Happy baking!
Why You’ll Love This Easter Pavlova
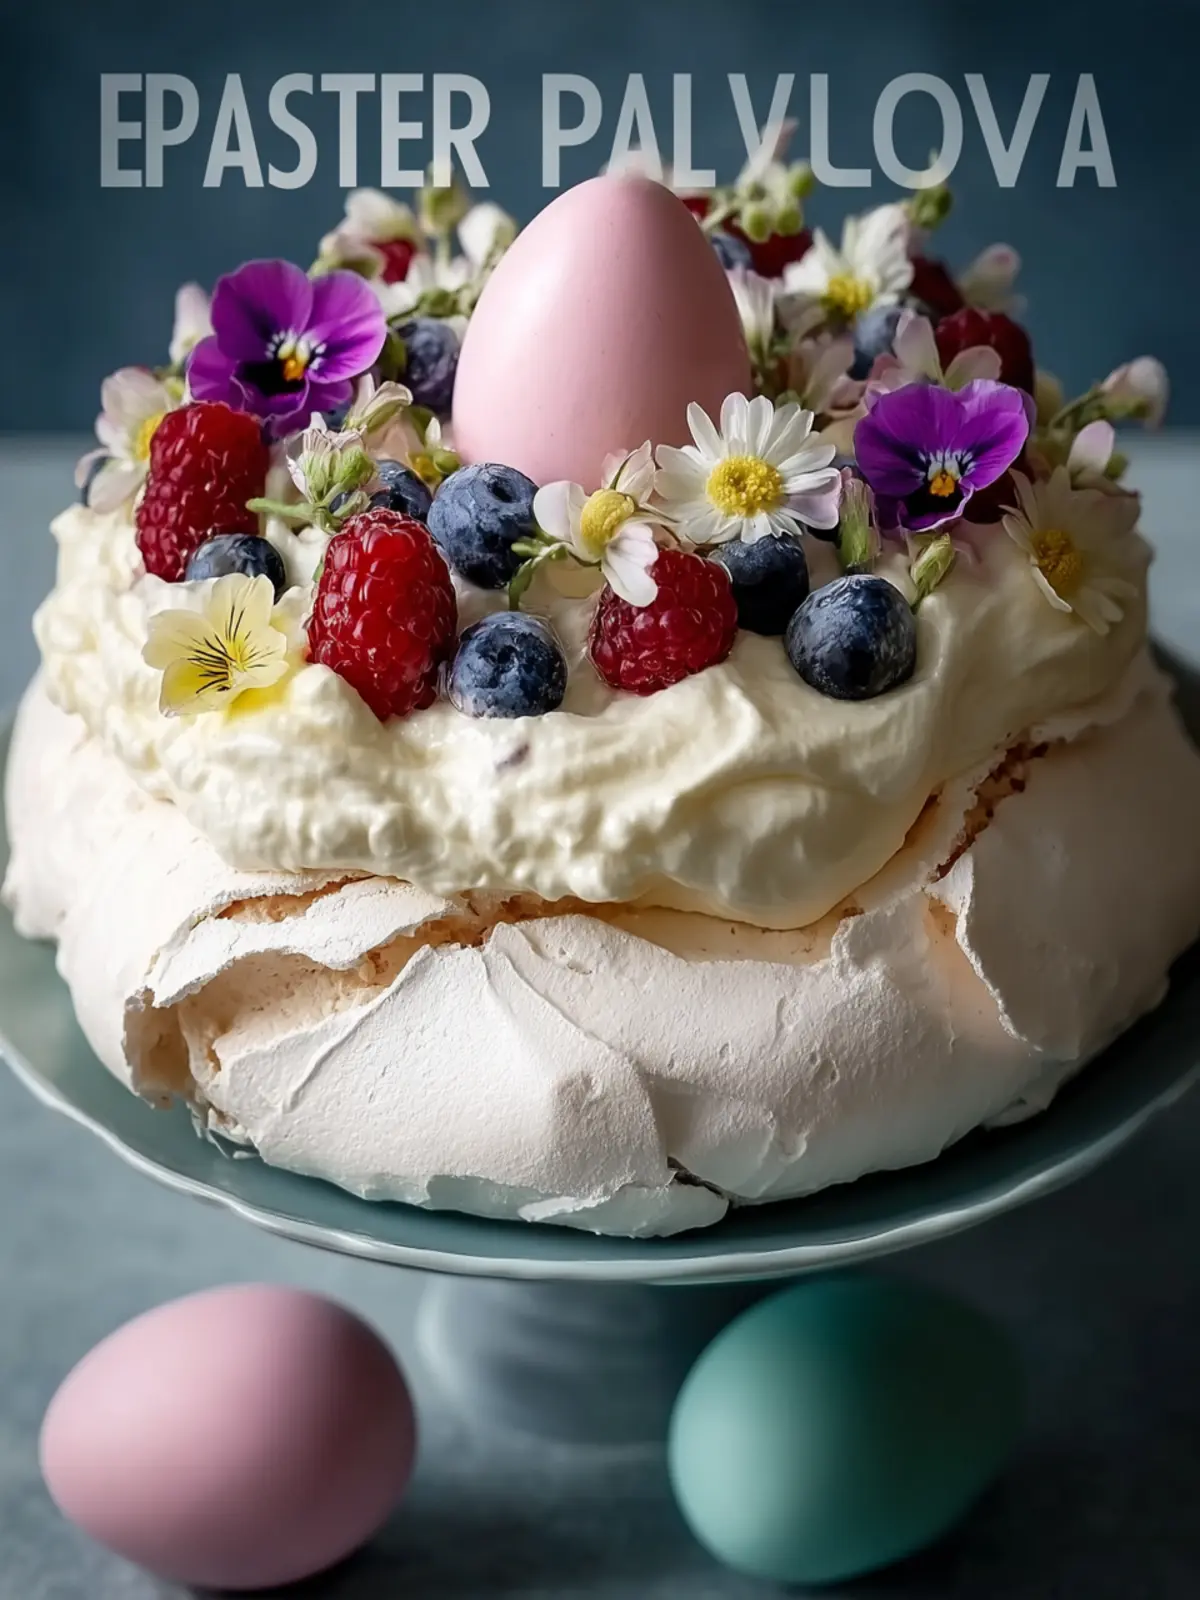
When you experience the light, airy sweetness of an Easter Pavlova, it’s like each bite transports you to a springtime celebration, where pastel colors and blooming flowers create a cheerful ambiance. This delightful dessert is not just a treat for the taste buds; it’s a stunning centerpiece that adds a touch of elegance to your Easter gathering.
A Perfect Combination of Texture and Flavor
Imagine slicing into a crispy meringue shell that crumbles just right, revealing a soft, marshmallow-like inside. It’s topped with luscious whipped cream and fresh seasonal fruits, making every forkful a balance of sweetness and tartness. The combination of textures—from the crunchy exterior to the creamy center—keeps your palate excited and wanting more.
Easy to Customize
One of the best things about this Easter Pavlova is its versatility. You can use any fruit you adore, be it ripe strawberries, zesty kiwi, or juicy passionfruit. This flexibility allows you to tailor the dessert to your taste preferences or whatever’s fresh and local. Plus, it accommodates varying dietary needs, making it a fantastic choice for diverse gatherings.
A Showstopper Dessert
Lastly, the aesthetics! A beautifully decorated Easter Pavlova looks impressive, yet it’s surprisingly simple to make. Your friends and family will be impressed, and you’ll enjoy being the star of the dessert table this Easter.
Variations of Easter Pavlova
Creating a delightful Easter Pavlova isn’t just about the basic recipe; it allows for fantastic variations that cater to every palate. Let’s dive into some delicious alternatives!
Flavor Alternatives
For an exciting twist on your Easter Pavlova, consider incorporating unique flavors into the meringue.
-
Cocoa Powder: Adding cocoa powder to the meringue gives it a rich chocolatey flair. This works beautifully with whipped cream and a mix of berries.
-
Matcha Powder: For a more earthy and vibrant touch, blend matcha powder into the meringue. The green color adds a lovely pop, perfect for spring.
Seasonal Fruits
When it comes to fruits, the choices can transform your Easter Pavlova into a seasonal centerpiece.
-
Berries: Strawberries, blueberries, and raspberries are always crowd-pleasers. Their tartness balances the sweetness of the meringue beautifully.
-
Citrus: Oranges and lemons add brightness. Consider a lemon curd layer on top of your whipped cream for an extra tang.
Different Toppings
Get creative with your toppings to wow your guests even more!
-
Nuts: Toasted almonds or pistachios add a delightful crunch, enhancing textural contrast.
-
Chocolate Drizzle: A drizzle of dark or white chocolate elevates the dessert, giving it an indulgent feel.
Embrace these variations, and you’ll have a stunning Easter Pavlova that reflects your unique taste and creativity!
Cooking Tips and Notes for Easter Pavlova
Creating the perfect Easter Pavlova is a delightful journey, but a few common pitfalls can lead to frustration. Navigating these can elevate your dessert from good to exceptional.
Common Mistakes to Avoid
- Humidity Matters: Pavlova’s delicate meringue can be ruined by humidity. Try to avoid making it on a rainy day to ensure a crispy exterior.
- Using Cold Eggs: Always let your eggs reach room temperature before whipping. Cold egg whites don’t whip up as well, resulting in a less stable meringue.
- Overmixing: Once you add the sugar, be gentle. Overmixing can make your pavlova dense instead of light and airy.
How to Achieve the Perfect Meringue
- Don’t Rush the Sugar: Gradually add sugar to your beaten egg whites. This ensures it dissolves properly, creating a glossy texture.
- Use an Acid: A splash of vinegar or cornstarch in your meringue helps stabilize it. This essential step will give you a beautiful, crispy shell and a soft center.
- Perfect Cooling: After baking, let your Easter Pavlova cool in the oven with the door slightly ajar. This prevents cracks and keeps it perfect for topping.
By keeping these tips in mind, you’ll create a stunning Easter Pavlova that’s as beautiful as it is delicious!
Serving Suggestions for Easter Pavlova
The Easter Pavlova is not just a showstopper for your dessert table; it’s an invitation for creativity in serving and sharing. Elevate this delightful meringue-based treat with these thoughtful suggestions.
Presentation Ideas
When it comes to showcasing your Easter Pavlova, the goal is to create a visually stunning centerpiece. Consider serving it on a large, white platter to enhance the contrasts of the bright toppings. Here are some tips:
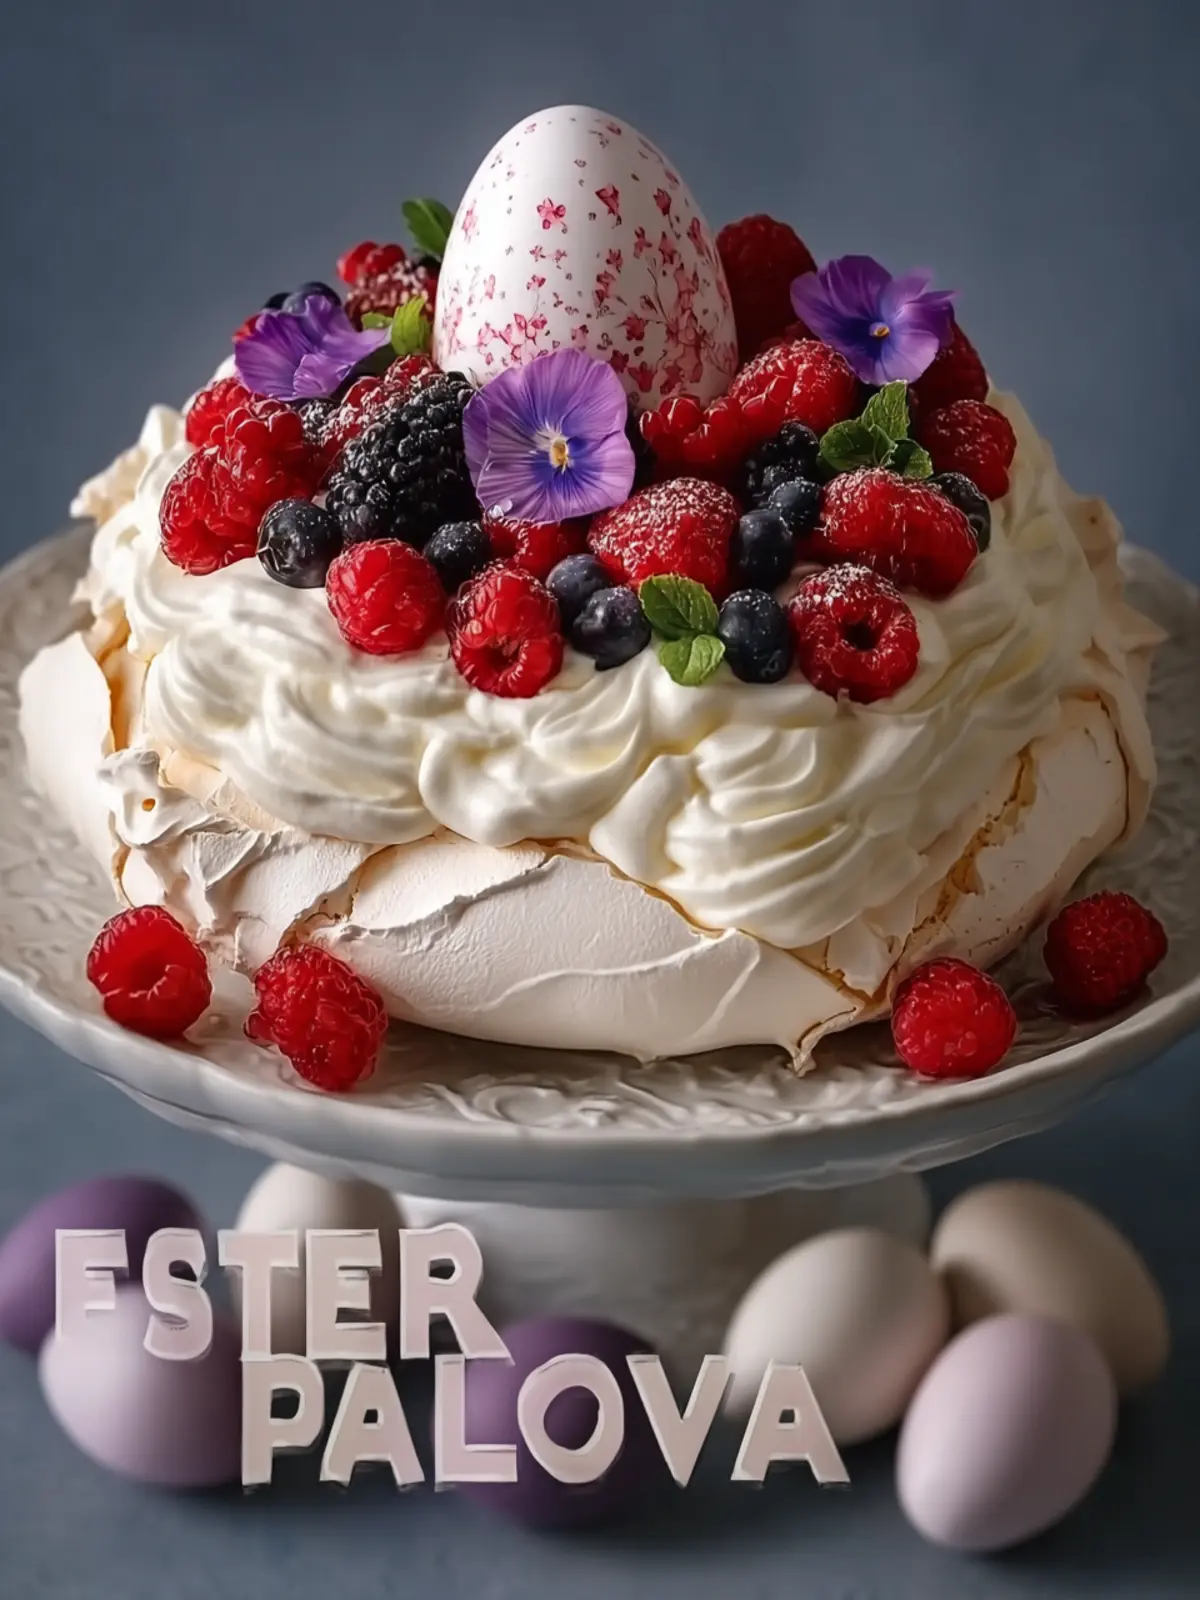
- Fresh Fruit Arrangement: Layer a mixture of seasonal fruits like berries, kiwis, and passionfruit on top for a pop of color. My favorite combo includes sliced strawberries and blueberries for a classic look.
- Edible Flowers: Sprinkle a handful of edible flowers such as pansies or nasturtiums for that extra touch of elegance. Not only do they look beautiful, but they also bring a subtle flavor.
- Whipped Cream Swirls: Add a dollop of freshly whipped cream around the perimeter for a rustic look, inviting guests to dive in.
Pairing with Drinks
To complement your Easter Pavlova, consider these delightful beverage options that enhance the flavors of your dessert:
- Sparkling Wine: A glass of chilled prosecco or champagne brings a celebratory feel to your gathering. The bubbles add a refreshing contrast to the meringue’s sweetness.
- Herbal Teas: For a non-alcoholic option, try serving an herbal tea, such as chamomile or hibiscus, which pairs wonderfully with the fruits and soft textures in your pavlova.
- Fruit-Infused Water: Present a pitcher of water infused with slices of lemon, cucumber, and mint for a refreshing, light accompaniment.
These serving suggestions will not only enhance the Easter Pavlova experience but also create lasting memories for you and your guests. Remember, the joy is as much in the presentation as it is in the flavor!
Time Breakdown for Easter Pavlova
Creating the perfect Easter Pavlova is a rewarding culinary adventure, and understanding the time involved can help you plan your celebration seamlessly.
Preparation Time
Setting aside about 20 minutes for preparation will ensure you have everything ready for this delightful dessert. This includes gathering your ingredients and whipping the egg whites to perfection.
Baking Time
The baking process usually takes around 1 hour. It’s essential to keep an eye on your pavlova to achieve that lovely crisp outer shell while maintaining a soft, marshmallow-like center.
Cooling Time
Allow your Easter Pavlova to cool for at least 1-2 hours after baking. This step is crucial for getting that perfect texture and avoiding any cracking.
Planning your time well will let you enjoy this beautiful Easter dessert even more!
Nutritional Facts of Easter Pavlova
When you’re enjoying a slice of Easter Pavlova, it’s not just a delightful treat but also an indulgent experience for your taste buds. Understanding the nutritional profile can enhance your appreciation of this classic dessert.
Calories
Each serving of Easter Pavlova typically contains about 200 calories. This makes it a relatively lighter option compared to other desserts, allowing you to enjoy it without the guilt.
Carbohydrates
With approximately 30 grams of carbohydrates per serving, Easter Pavlova strikes a balance between sweetness and lightness. This carbohydrate content provides a quick source of energy, perfect for an afternoon pick-me-up.
Sugars
The dessert is known for its naturally sweet flavor, coming in at around 20 grams of sugars. Most of these sugars are derived from the meringue and fruity toppings, giving you that satisfying sweetness without overdoing it on refined sugars.
Indulging in a slice of Easter Pavlova is not just about satisfying a sweet tooth; it’s also about enjoying something that can fit into a balanced diet.
FAQs about Easter Pavlova
Creating a stunning Easter Pavlova can spark a delightful celebration, but there are often questions that come along with mastering this beautiful dessert. Let’s tackle some of the most common inquiries to ensure your pavlova journey is both rewarding and stress-free!
How can I prevent my pavlova from cracking?
Cracking can be one of the most common concerns when making Easter Pavlova. To minimize the likelihood of cracks, try these tips:
- Avoid Overmixing: Gently fold in the sugar until dissolved, as overmixing can introduce too much air.
- Slow Cooling: Let your pavlova cool slowly in the oven with the door slightly ajar. This gradual decrease in temperature helps prevent cracking.
- Humidity Control: If you’re baking on a humid day, the moisture can affect the texture. Consider using a dehumidifier or avoid making pavlova in sticky weather.
Can I make the pavlova ahead of time?
Absolutely! One of the best aspects of Easter Pavlova is that it can be prepared in advance. Bake your pavlova a day ahead and store it in an airtight container at room temperature. This way, you can focus on other dishes for your Easter feast!
What’s the best way to store leftover pavlova?
If you find yourself with leftover Easter Pavlova, store it in an airtight container to maintain its crisp texture. While it’s best enjoyed fresh, it can last for a day or two at room temperature. Just remember to add any toppings just before serving to keep everything looking beautiful and fresh!
Conclusion on Easter Pavlova
The Easter Pavlova truly embodies the spirit of spring with its light, airy meringue and vibrant toppings. This dessert not only delights the taste buds but also adds a festive touch to any gathering. As you serve this showstopper, remember that the key to a perfect pavlova lies in gentle mixing and patience while baking. Its crisp exterior and soft center create an irresistible contrast that’s sure to impress your friends and family. So, when the Easter table is set, let your homemade Easter Pavlova steal the spotlight and become a cherished tradition for years to come.
Print
Pavlova
- Total Time: 1 hour 45 minutes
- Yield: 8 servings 1x
- Diet: Vegetarian
Description
A delightful pavlova topped with fresh raspberries and whipped cream.
Ingredients
Scale
- 4 large egg whites, room temperature
- 1 cup (200g) caster sugar
- 1 tsp white vinegar
- 2 tsp cornstarch
- 1 tsp vanilla extract
- 1 cup heavy cream (cold)
- 2 tbsp powdered sugar
- 1/2 tsp vanilla extract
- 1 1/2 cups fresh raspberries
- Edible flowers (such as violets, dianthus, or lavender)
- Meringue eggs or mini pastel candies (store-bought or homemade)
Instructions
-
Preheat the oven to 250°F (120°C). Line a baking sheet with parchment paper and, if desired, draw an 8-inch circle on the underside of the parchment to use as a shaping guide for the pavlova.
-
In a clean, dry mixing bowl, beat the egg whites on medium speed until soft peaks form. Gradually add the sugar, one tablespoon at a time, beating continuously until the meringue is thick, glossy, and smooth to the touch. Rub a small amount between your fingers to ensure the sugar is fully dissolved before proceeding.
-
Gently fold in the white vinegar, cornstarch, and vanilla extract using a spatula. Mix just until combined, taking care not to deflate the meringue.
-
Spoon the meringue onto the prepared baking sheet, using the circle as a guide. Shape into a round with smooth sides and a shallow well in the center to hold the toppings later.
-
Bake for 1 hour 15 minutes. After baking, turn off the oven and let the pavlova cool inside with the door slightly ajar for 1 hour. This gradual cooling helps prevent cracking.
-
In a cold mixing bowl, whip the heavy cream with powdered sugar and vanilla extract until soft peaks form. The cream should hold its shape but remain smooth and airy.
-
Carefully transfer the cooled pavlova base to a serving platter. Spoon the whipped cream into the center well, then top with fresh raspberries. Garnish with edible flowers and pastel meringue eggs or mini candies.
-
Serve immediately after assembling for best texture.
Notes
- This dessert is best enjoyed fresh.
- Store any leftovers in an airtight container in the fridge for a short time.
- Prep Time: 30 minutes
- Cook Time: 1 hour 15 minutes
- Category: Dessert
- Method: Baking
- Cuisine: Australian/New Zealand
Nutrition
- Serving Size: 1 slice
- Calories: 200
- Sugar: 25g
- Sodium: 50mg
- Fat: 10g
- Saturated Fat: 6g
- Unsaturated Fat: 4g
- Trans Fat: 0g
- Carbohydrates: 30g
- Fiber: 1g
- Protein: 3g
- Cholesterol: 20mg